Home Improvement

Dandai

<WoW Guild Officer>
<Gold Donor>
5,907
4,483
so your man cave crawlspace is super out of the ordinary then right? and usually it's mostly like this?
(i've only had basements)
Yeah, “crawlspace” is quite literal. There’s typically only enough room to crawl. But the grade of the slope my house sits on means the front of the crawlspace is like the video above but the rear (when the entrance is) is almost 6’ from the dirt floor to the floor joists. If I were any taller this wouldn’t be feasible as a shop, but it would definitely serve the purpose of additional storage.
 

Hateyou

Not Great, Not Terrible
<Bronze Donator>
16,288
42,313
A minor project I did today for the wife. Cost $15, took about 45 minutes.

B8DF222C-E2A0-4838-9D3E-A6C932FE7036.jpegE7E8FF2A-F04D-4292-B6D1-77D9E2AAEB22.jpeg
 
  • 2Like
Reactions: 1 users

Hateyou

Not Great, Not Terrible
<Bronze Donator>
16,288
42,313
Major project that I will be taking slowly, adding pavers to the bottom of the deck. Redid the deck recently with stain, new furniture. Will post progress pics as I go. Right now the pavers are just in place assisting with killing the grass.

AB54C9EB-EBD6-4394-A3F7-EBFB52D1B8DE.jpeg7AB7C361-2F75-4DAB-AEF7-F646AC966180.jpeg
 
  • 1Like
Reactions: 1 user

Hateyou

Not Great, Not Terrible
<Bronze Donator>
16,288
42,313
Have you worked with pavers before?

Nope. I have done pillars before on my pergola at my last house but nothing in the ground yet. Doesn’t look difficult, just annoying, I hate digging.

Pics of the old pergola. I did the whole thing from scratch, even the shapes of the end cuts, I was pretty proud of it.

33CE6DC0-250A-4A4E-AB67-910F344CD781.jpegD6306598-6DC7-4FF7-ACDB-D118B85B6B0D.jpeg
 
  • 1Like
Reactions: 1 user

Dandai

<WoW Guild Officer>
<Gold Donor>
5,907
4,483
Nope. I have done pillars before on my pergola at my last house but nothing in the ground yet. Doesn’t look difficult, just annoying, I hate digging.

Pics of the old pergola. I did the whole thing from scratch, even the shapes of the end cuts, I was pretty proud of it.

View attachment 171895View attachment 171894
I only ask because i'm the kind of guy who will take the time and effort to do something as perfect as reasonably possible, and pavers are a project that can result in an unusable eye sore or a professional looking and awesome final product. The difference between the two can be as little as 2-3 hours of extra effort.

If you appreciate video tutorials, this is the best guy I've found that talks about pavers (and retaining walls):


Some key takeaways are:

1) Use class 5 (paver base) stone at a depth of at least a few inches.
2) Don't use more than an inch of sand or you'll get blocks that lift and tilt when uneven force is applied to them (chair legs, tables, etc).
3) The longer your level the better. 4' is probably good enough, but if you can get a nice flat 8' board, that's even better.
4) Screeding seems like a pain in the ass, but it is a huge time saver. Trust me.

I've installed two retaining walls and a small paver patio. You'll feel like you're taking FOREVER doing the ground prep, but once you get to the point where you're ready to start laying down your blocks, it will go as fast as you can lift and place them. It's a lot of work, but it's very rewarding. It's even better when everything is nice and level.

Good luck!

Edit: This video is more obnoxious, but more complete in terms of all the steps and details for each step:

 
Last edited:

Hateyou

Not Great, Not Terrible
<Bronze Donator>
16,288
42,313
I only ask because i'm the kind of guy who will take the time and effort to do something as perfect as reasonably possible, and pavers are a project that can result in an unusable eye sore or a professional looking and awesome final product. The difference between the two can be as little as 2-3 hours of extra effort.

If you appreciate video tutorials, this is the best guy I've found that talks about pavers (and retaining walls):


Some key takeaways are:

1) Use class 5 (paver base) stone at a depth of at least a few inches.
2) Don't use more than an inch of sand or you'll get blocks that lift and tilt when uneven force is applied to them (chair legs, tables, etc).
3) The longer your level the better. 4' is probably good enough, but if you can get a nice flat 8' board, that's even better.
4) Screeding seems like a pain in the ass, but it is a huge time saver. Trust me.

I've installed two retaining walls and a small paver patio. You'll feel like you're taking FOREVER doing the ground prep, but once you get to the point where you're ready to start laying down your blocks, it will go as fast as you can lift and place them. It's a lot of work, but it's very rewarding. It's even better when everything is nice and level.

Good luck!

Edit: This video is more obnoxious, but more complete in terms of all the steps and details for each step:


Thanks for the links, I haven’t checked them
Out yet but I will before I start buying the rest of what I need. I understand the process, just not sure what product to go with yet. Pavers base pads look easier than stone, but I haven’t read a lot of reviews yet. If I go with pads I was going to follow something like this.

Brock PaverBase DIY Paver Installation
 

Dandai

<WoW Guild Officer>
<Gold Donor>
5,907
4,483
Looks like he got off pretty lucky there. That could've been a lot worse.
 

Siliconemelons

Avatar of War Slayer
10,771
15,079
Yeah, my dad does wood turning and has a bunch of injuries - the worst obviously are when the blade gets you, or the wood turns into wood daggers. Once he had a piece explode because he was not waiting the proper time to let glue dry and he was turning a piece that was 3 or 4 different woods put together.
 

Dandai

<WoW Guild Officer>
<Gold Donor>
5,907
4,483
Yeah, my dad does wood turning and has a bunch of injuries - the worst obviously are when the blade gets you, or the wood turns into wood daggers. Once he had a piece explode because he was not waiting the proper time to let glue dry and he was turning a piece that was 3 or 4 different woods put together.
Not waiting long enough for glue to dry before turning it in a lathe has to put him in the top 1% of impatient people 😬😬😬
 

Siliconemelons

Avatar of War Slayer
10,771
15,079
Yeah... I gave him so much shit for it.

It makes really cool patterns and stuff, but - hes the guy that gives me shit when I do any home improvement thing - if I dare question the "proper way" of something or wanting to do another paint layer before its done he gets all uppity...

But then he goes off and tries to turn a bowl that he only let sit for like 4 hours after gluing. I was like dude, pops...wtf
 

Lanx

<Prior Amod>
60,617
132,673
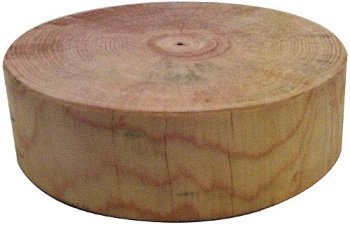
speaking of wood, since my tree broke off, theres a huge chunk of half the trunk around, it looks about 16in in diameter, i wanna do an old fashioned chinese chopping block with it
31E0cNxs-FL.jpg


would i just buy a plane??? and scrape away? i basically have zero wood tools besides this tree trimmer.
 

Dandai

<WoW Guild Officer>
<Gold Donor>
5,907
4,483
speaking of wood, since my tree broke off, theres a huge chunk of half the trunk around, it looks about 16in in diameter, i wanna do an old fashioned chinese chopping block with it
31E0cNxs-FL.jpg


would i just buy a plane??? and scrape away? i basically have zero wood tools besides this tree trimmer.
Let me preface what I'm about to say with almost all my woodworking knowledge is theory, not practice (yet). Woodworking is actually going to be the focus of my forthcoming shop space!

Ultimately, the project you want to do likely involves several more-or-less specialized tools, and I imagine the wood will need to be allowed to age (dry) before it's safe to use as a cutting board (and receive a finish - make sure you only use food grade/recommended finishes on anything you intend to use as a cutting board!). It varies by species, but air drying wood can take quite a long time. It can be sped up by cutting it more thinly and bringing it inside. That little piece wouldn't have that much of an impact, but I've heard of guys putting several stacked 2x boards in their house and having to run a dedicated dehumidifier to handle the massive amount of water vapor being put off by the raw lumber.

Forgive me for stating the obvious, but your best bet is likely to find someone on youtube that has done this. That will at least give you an idea of how much effort is involved.

I'm getting ready to do something similar with a fallen tree, but I'm cutting the log down the trunk, not making rounds. I plan to make some live edge tables (possibly benches). But I'm weeks away from being ready to process the tree. I've found a couple different examples of a rail system that allows a chain saw to mill rough cut lumber.

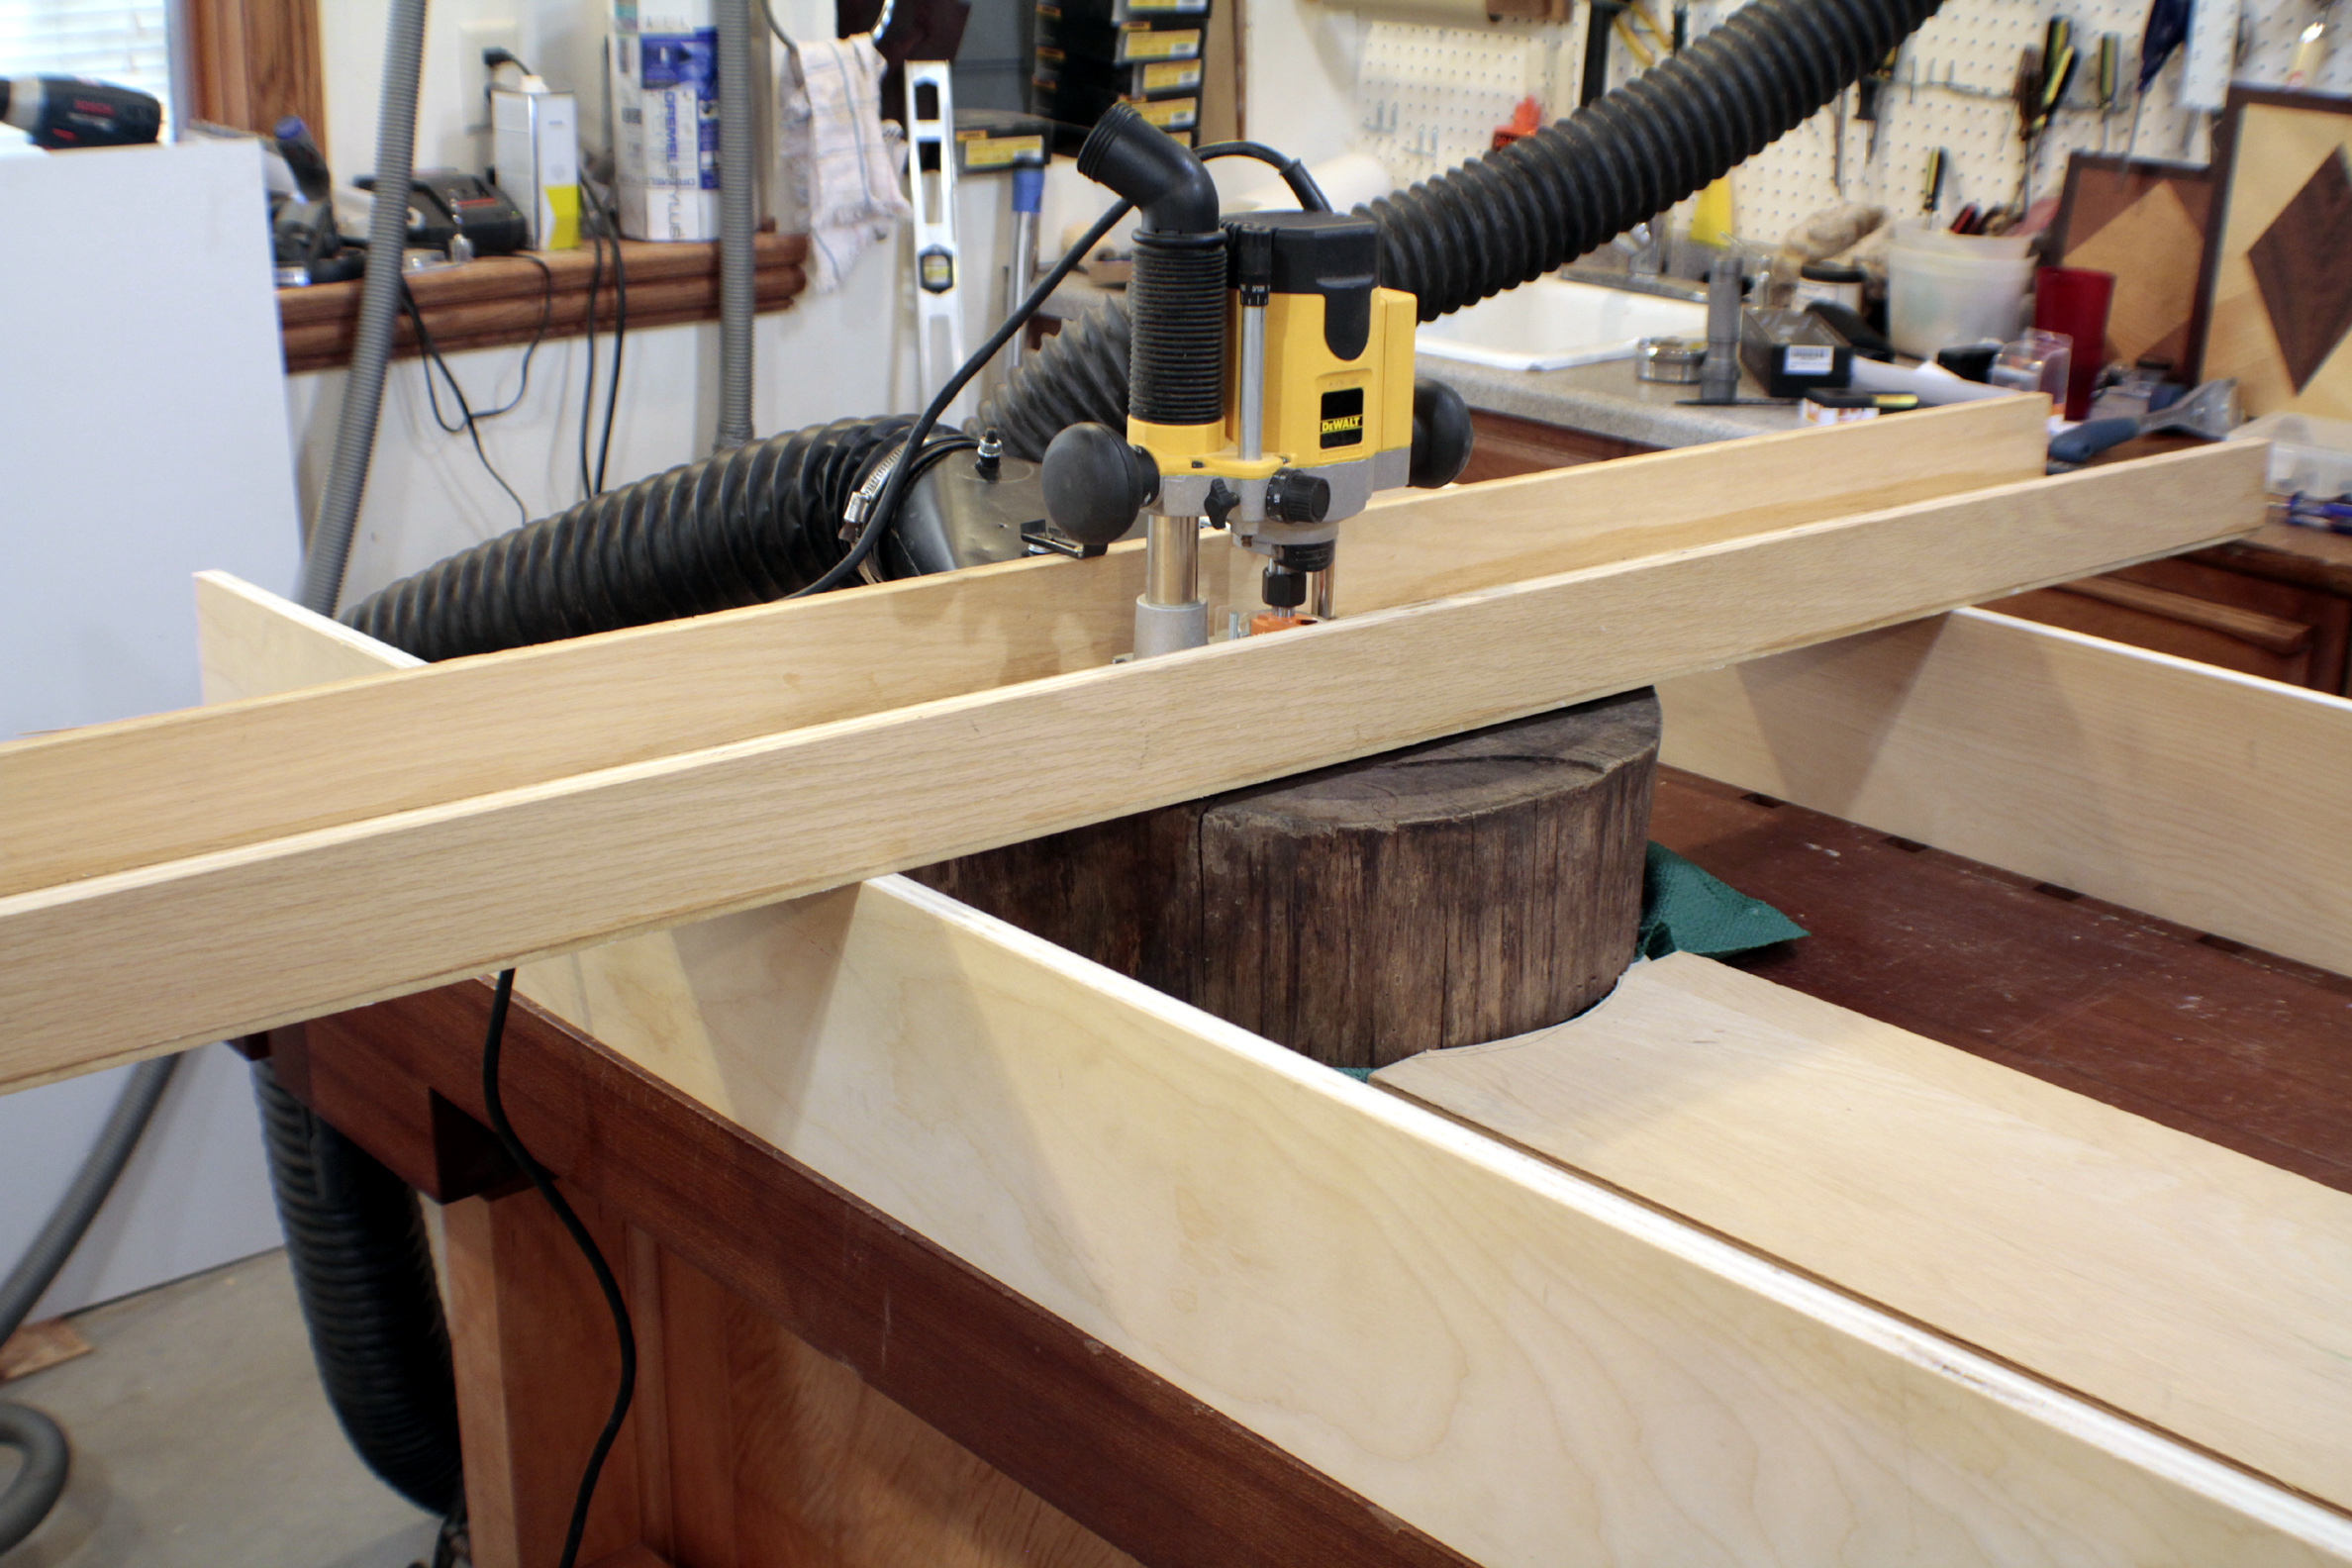
Edit: The method I'll be using for making the live edge slabs flat is a rail system for my router. You need a perfectly flat work table, but you can shim and adjust the wood as needed (for stability). Once you flatten one side, the other is fast. Here's an example of the router/rail setup:

Slab-flattening-router-jig.jpg
 

Lanx

<Prior Amod>
60,617
132,673
Let me preface what I'm about to say with almost all my woodworking knowledge is theory, not practice (yet). Woodworking is actually going to be the focus of my forthcoming shop space!

Ultimately, the project you want to do likely involves several more-or-less specialized tools, and I imagine the wood will need to be allowed to age (dry) before it's safe to use as a cutting board (and receive a finish - make sure you only use food grade/recommended finishes on anything you intend to use as a cutting board!). It varies by species, but air drying wood can take quite a long time. It can be sped up by cutting it more thinly and bringing it inside. That little piece wouldn't have that much of an impact, but I've heard of guys putting several stacked 2x boards in their house and having to run a dedicated dehumidifier to handle the massive amount of water vapor being put off by the raw lumber.

Forgive me for stating the obvious, but your best bet is likely to find someone on youtube that has done this. That will at least give you an idea of how much effort is involved.

I'm getting ready to do something similar with a fallen tree, but I'm cutting the log down the trunk, not making rounds. I plan to make some live edge tables (possibly benches). But I'm weeks away from being ready to process the tree. I've found a couple different examples of a rail system that allows a chain saw to mill rough cut lumber.

Edit: The method I'll be using for making the live edge slabs flat is a rail system for my router. You need a perfectly flat work table, but you can shim and adjust the wood as needed (for stability). Once you flatten one side, the other is fast. Here's an example of the router/rail setup:

Slab-flattening-router-jig.jpg
yea i've checked youtube, mostly it's about ppl making zig zag cutting boards or gluing planks/checkboard patterns n shit, nuttin really about just using the trunk guess i should start by just bringing in the huge chunk of wood inside huh?
 

Dandai

<WoW Guild Officer>
<Gold Donor>
5,907
4,483
yea i've checked youtube, mostly it's about ppl making zig zag cutting boards or gluing planks/checkboard patterns n shit, nuttin really about just using the trunk guess i should start by just bringing in the huge chunk of wood inside huh?
Yeah, I'd bring it inside. Of course make sure it's insect free before you do :|

The biggest thing to watch for is the end grain to start peeling and tearing away from the wood. If you notice that, it's drying too fast. Take it back outside and make sure it stays in a shaded area (direct sunlight will almost certainly cause the aforementioned peeling).

Air-Drying Lumber - Popular Woodworking Magazine
Lumber defects occur when drying is too rapid, which leads to surface checks and end splits or when drying is too slow, which results in sticker stains and discoloration from fungal growth.

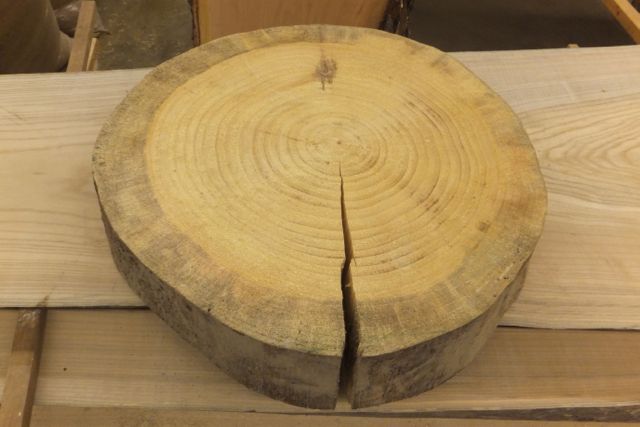
Edit: A quick and dirty google gave me the picture below (and the headline of the page is "Round cut lumber almost always splits"). So there's that :(

dscf6026.jpg
 

Lanx

<Prior Amod>
60,617
132,673
Yeah, I'd bring it inside. Of course make sure it's insect free before you do :|

The biggest thing to watch for is the end grain to start peeling and tearing away from the wood. If you notice that, it's drying too fast. Take it back outside and make sure it stays in a shaded area (direct sunlight will almost certainly cause the aforementioned peeling).

Air-Drying Lumber - Popular Woodworking Magazine


Edit: A quick and dirty google gave me the picture below (and the headline of the page is "Round cut lumber almost always splits"). So there's that :(

dscf6026.jpg
dang
 

Fogel

Mr. Poopybutthole
12,143
45,072
I'd think a good plane and sander would go a long way if you get a decent initial cut out of the tree. Any thing more involved and you're looking at more specialized and expensive tools that you probably won't use much if you're not into wood working/crafting
 

BrutulTM

Good, bad, I'm the guy with the gun.
<Silver Donator>
14,430
2,216
Unless it's several inches thick, even if it doesn't split while it's drying, it's going to break in half the first time you drop it. People make end-grain cutting boards, but they do it by gluing a bunch of pieces together. A round piece of a log like that is just to be super fragile once it dries.