3d Printing and the Future of Piracy
- Thread starter Adebisi
- Start date
You are using an out of date browser. It may not display this or other websites correctly.
You should upgrade or use an alternative browser.
You should upgrade or use an alternative browser.
slippery
<Bronze Donator>
- 7,985
- 7,797

This might sound weird, but have you don't anything to model the airflow path? It looks kind of like airflow over motherboard and even too the video card might kind of be a problem and things are going to run hotter than expected, even with all the fans. Like there are going to be dead zones because turbulence
Hekotat
FoH nuclear response team
- 13,315
- 13,802
This might sound weird, but have you don't anything to model the airflow path? It looks kind of like airflow over motherboard and even too the video card might kind of be a problem and things are going to run hotter than expected, even with all the fans. Like there are going to be dead zones because turbulence
I'm going to experiment with some tubing channels and velocity stacks. Still working on the frame, mounting and internals before getting to that point. I still have to design an SSD mount and a fan controller hub.
- 3

Hydromarty
Ahn'Qiraj Raider
- 511
- 3,748
I agree, I used .4 mm lines for these fins, all printed easy. Could use directional flow.This might sound weird, but have you don't anything to model the airflow path? It looks kind of like airflow over motherboard and even too the video card might kind of be a problem and things are going to run hotter than expected, even with all the fans. Like there are going to be dead zones because turbulence
https://www.thingiverse.com/thing:5232488
Hydromarty
Ahn'Qiraj Raider
- 511
- 3,748
Hydromarty
Ahn'Qiraj Raider
- 511
- 3,748


Printed this for a friend

only to find out 20 minutes after that this existed.
 www.sb-tactical.com
O well
only to find out 20 minutes after that this existed.
LOPL Length of Pull Limiter (4 Pack) | SB Tactical
SB Tactical LOPL Length of Pull Limiter (4 Pack). We design, develop and manufacture accessories for firearms including the original pistol stabilization brace.
www.sb-tactical.com
O well
- 1
Kais
<Gold Donor>
- 957
- 1,988
Finished off sunday afternoon routing the harness through the gantry and cable chain, forgetting the x/y endstop pigtail and having to redo the cable chains, and crimping on molex microfits to the A/B motors to connect to the pigtail.
Spent part of the night trying to mock up the cable routing in the electronics bay. Keeping the control wires away from AC, main pigtail breakout, etc. I've come to the conclusion that i need to rotate the PSU and Octopus board which means i need new mounts. And my old printer cant print abs worth a shit. So. Quick and ugly wiring job will have to do until i can tune the thing decently and print new mounts. I also want to move the switch and plug positions to a corner instead of dead center rear. We'll see if i get enough time this week.
Spent part of the night trying to mock up the cable routing in the electronics bay. Keeping the control wires away from AC, main pigtail breakout, etc. I've come to the conclusion that i need to rotate the PSU and Octopus board which means i need new mounts. And my old printer cant print abs worth a shit. So. Quick and ugly wiring job will have to do until i can tune the thing decently and print new mounts. I also want to move the switch and plug positions to a corner instead of dead center rear. We'll see if i get enough time this week.
- 2
Hydromarty
Ahn'Qiraj Raider
- 511
- 3,748
Hekotat
FoH nuclear response team
- 13,315
- 13,802
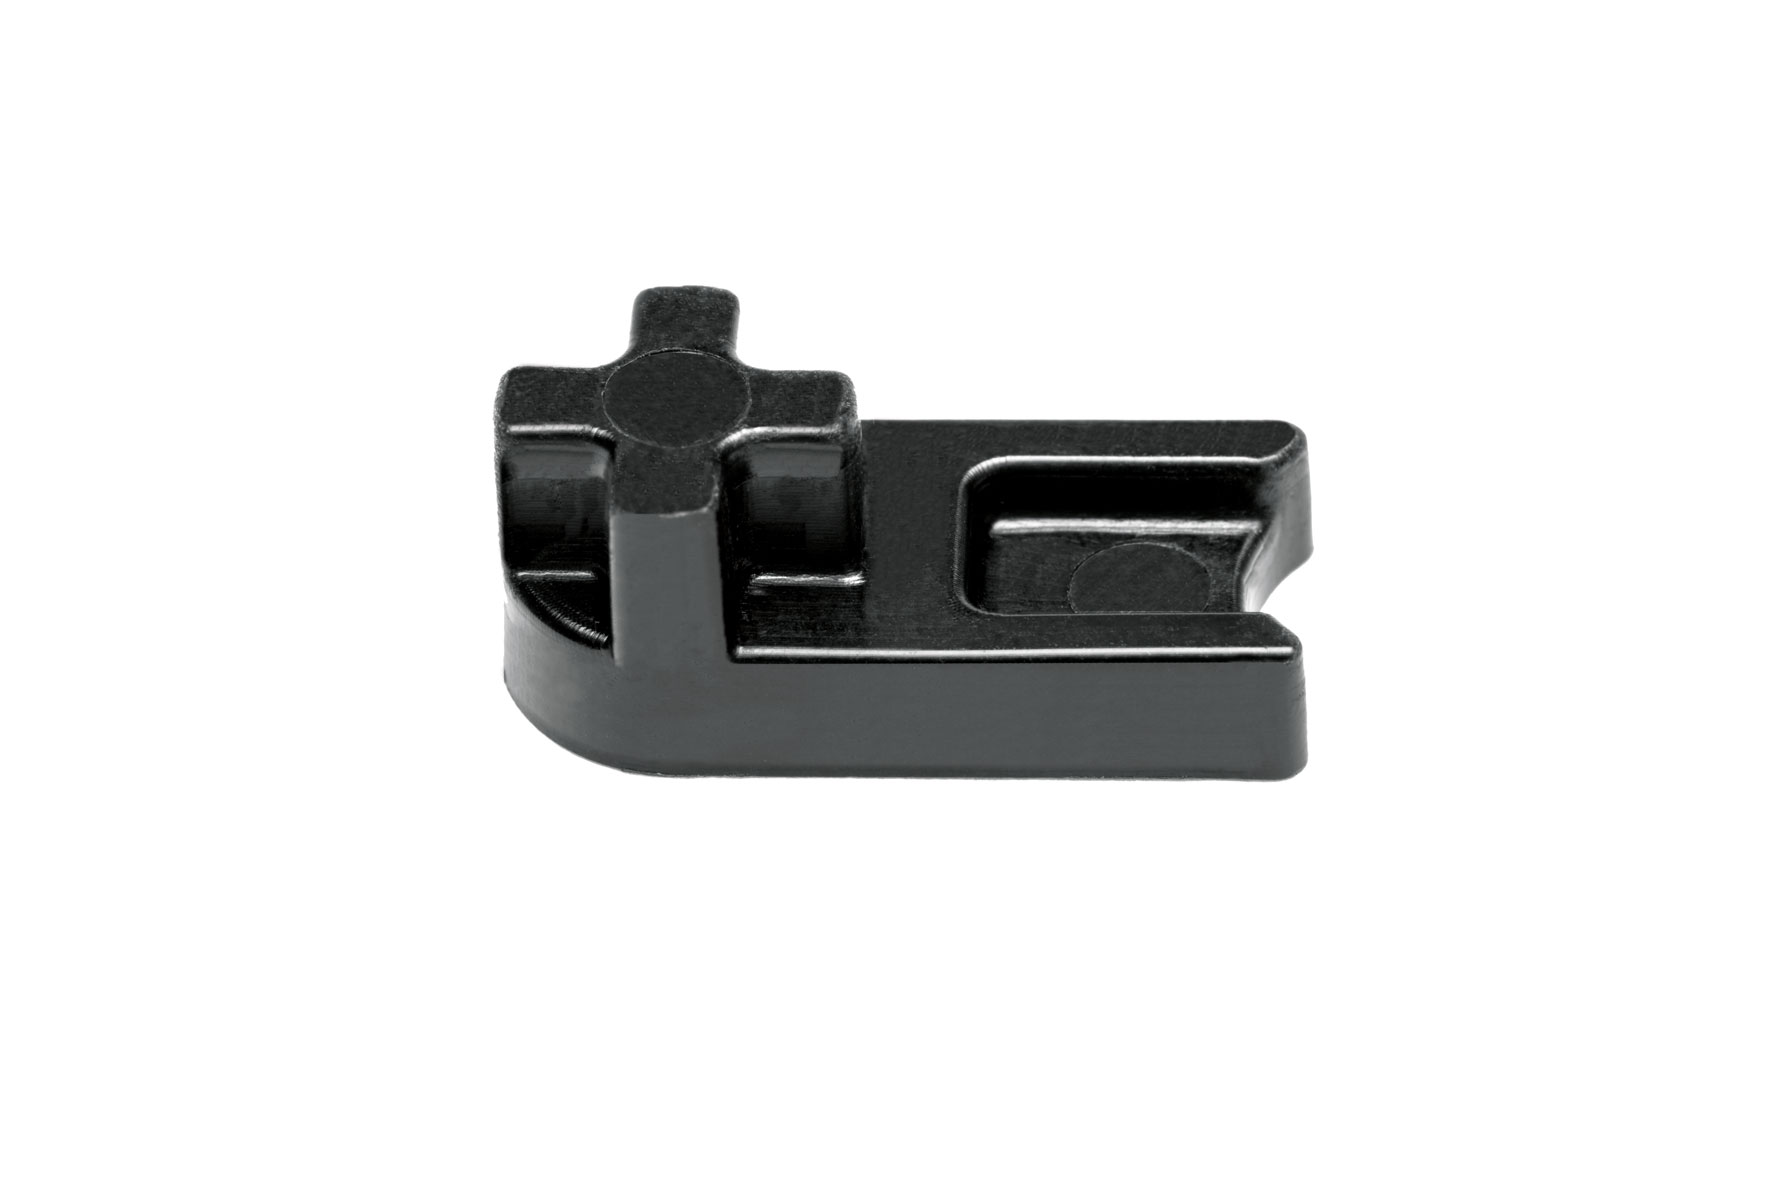
Anyone have one of these? Would like STEP files
There is a website dedicated specifically to 3D printed guns.
Hekotat
FoH nuclear response team
- 13,315
- 13,802
Getting closer to getting completed, still hung up on case feet and the top ventilation design (not sure if I like it) and I'm considering adding a USB/USB plate to the front.
Still need to do the SSD mount but a little stuck on that for now.


Still need to do the SSD mount but a little stuck on that for now.
- 3
Hydromarty
Ahn'Qiraj Raider
- 511
- 3,748
I think it would look awesome with the i/o on bottom. Like a riser shelf for the wires to bend. But I guess that's how the new oxbox is.. Then the top side isn't a fan eitherGetting closer to getting completed, still hung up on case feet and the top ventilation design (not sure if I like it) and I'm considering adding a USB/USB plate to the front.
Hydromarty
Ahn'Qiraj Raider
- 511
- 3,748
I've been drawing up this enclosure panel. I like the no hardware design aspect. Might look good in a PC case, with refined lines of course

Last edited:
Hydromarty
Ahn'Qiraj Raider
- 511
- 3,748
I dig it.Getting closer
View attachment 398554
You could make some of those vent holes false holes to control air flow, and maybe make a design
Hekotat
FoH nuclear response team
- 13,315
- 13,802
What's a good place to go to get 2 small things printed? Pretty sure they need to be done in resin as they require very precise fitting, already have the stl files
You might be able to find a discord community that does 3D print work for low cost or you can check for a hobbyist facility in your area. In Dallas they have a place called Dallas Makerspace that has all kinds of equipment you can use for a small monthly fee.
Kais
<Gold Donor>
- 957
- 1,988
Got most all of the wiring done. Quick and dirty wiring job is still pretty tidy. Started with the AC side of things from the plug to some Wago 221s instead of terminal blocks. Printed out a mount for the Wagos in some old white pla i had on deck and mounted it to the frame. Did this so i could avoid using VHB tape as i'm probably going to move all of that section when i get new mounts printed for the psu and boards. Less sticky shit now makes the job easier later. Gonna have to reprint that Wago mount in abs.
Mounted the bed and got that all wired up. Used wago's for all connections on the bed too in a mount bolted behind the bed on the topside of the deck. If i need to service the bed/heater/thermal fuse/thermistor i can remove the whole assembly without having to chase wires through to the electronics bay. QoL feature there, though i absolutely have to replace the wago mount with abs pronto. That close the the bed the pla is gonna get soooooft.
Also, this heater is a 600w 110v mat. Not some 12/24v you see on most off the shelf printers. Earth ground on the bed, the frame, and the din rails. It's not on all the time, it's directed through a SSR (a relay) that's controlled by the pid on the Octopus board.
Moved on to the 24v connections and then landed the gantry harness. Toolhead (24v 50w heater, pt1000 temp sensor, omron inductive sensor for bed mesh, part/hotend fans, extruder motor) x/y/z endstops, chamber temp thermistor, A/B motors. Tomorrow it's the 4 z motor leads and connecting the rpi if i can ever find my box of dupont connectors. The octopus has a 5v rail and UART so can jumper comms and power straight to the gpio.
Then flips the switch and let the magic smoke fly!
- 3
Share: