Thanks, I'll start trying that today. "Orange peel" texture is dead on. Some of it is from the etching, but its definitely mostly from the application. I'm using A HVLP sprayer but haven't had it longI'm assuming the dimple texture is in the tile, yes? If not, you are getting orange peel from either an adhesion problem or an application problem.
Flattening polyurethane, the only option is sanding. If you're worried about sanding through the finish, put more coats on before you sand. Better yet, use a finish with higher solids content so you get more build (like conversion varnish or catalyzed lacquer).
If you want to stick with a wipe on, water based polycrylic, try 5 coats, lightly sand by hand with 400 grit or higher, then add 2 coats of polycrylic. Sand/apply 2 coats again. Repeat until smooth.
Or spray 2 moderate coats of conversion varnish, lightly de-nib or sand with 500 grit, and spray a light top coat.
Others here I think do more finishing than me and may have different /better options for you. I just do furniture.
Woodworking
- Thread starter Intrinsic
- Start date
You are using an out of date browser. It may not display this or other websites correctly.
You should upgrade or use an alternative browser.
You should upgrade or use an alternative browser.
whoo
<Silver Donator>
Another thought: you could look at a product like Total Boat halcyon clear. It's an epoxy based marine varnish that goes on thick and is self leveling. Not too expensive. Halcyon Water-Based Marine Varnish
- 1
Thanks, I'll start trying that today. "Orange peel" texture is dead on. Some of it is from the etching, but its definitely mostly from the application. I'm using A HVLP sprayer but haven't had it long
HVLPs don't spray like a conventional gun.
1- cheap HVLP guns only 'HVLP' when their psi / bar is set below the max (usually marked on the gun).
2- HVLPs squirt paint much differently than a conventional gun, general rule is you need to get your fluid tip closer to your work, and make your passes slower.
True orange peel is generally a sign of you moving your passes a bit to fast. When spraying an uneven surface the pattern underneath can 'print' into your finish as the solvents flash out and the film thickness shrinks.
General spray gun tips-
Guns are designed to squirt fluid pin wide open, fan wide open. This can be wider than work sometimes and you are wasting material with bad transfer rate from blow-by. So anytime you narrow the fan, you need to drop the fluid needle too, also when choking down fan width you need to drop pressure going into gun to keep the psi / bar under max.
Biggest tip when learning to spray well if set up LOTs of light. You need to see how the paint is laying down as you move. Also don't stand behind a spray gun like its a firearm, you can't see shit. Hold the gun off to the side, turn your head and watch the fan coming out of the gun and how it is interacting with the surface as you are applying.
The whole trick to getting a mirror finish spray job is being able to walk the super fine line of laying it down wet so it flows, but not wet enough to make it start running or smiling.
Takes a lot of practice and every coating material behaves differently.
Edit - Also HVLPs rely on cfm not psi, and a lot of home compressors don't make good cfm, it effects how well the gun lays down material
- 1
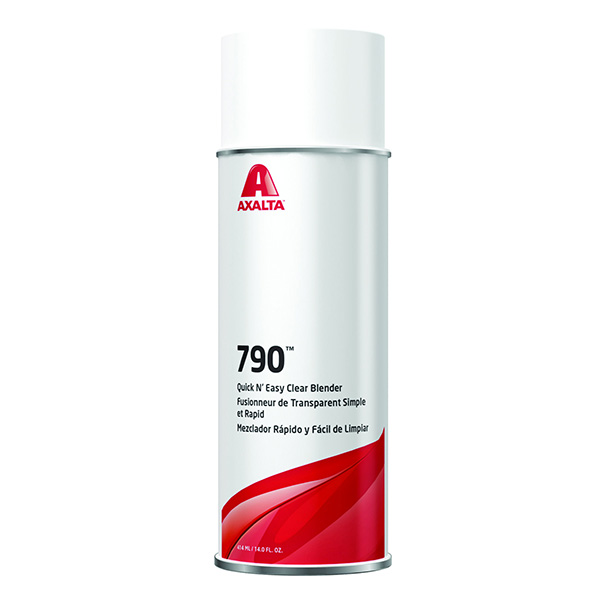
Another pro-tip if you are going to spray alot, invest in a can of Blender. It can save a rough spray job by melting the surface so it can move a bit and flatten out while it is still 'green '
Test it's compatibility with the material you are spraying before going full steam. You don't want it corrupting more sensitive/ fussy coatings.

Old timers didn't have blender so they would dump most of their gun cup at the end, cut the pot with 60-70% reducer and run a super atomized fog pass to remelt rough spots in a finish.
Test it's compatibility with the material you are spraying before going full steam. You don't want it corrupting more sensitive/ fussy coatings.

Old timers didn't have blender so they would dump most of their gun cup at the end, cut the pot with 60-70% reducer and run a super atomized fog pass to remelt rough spots in a finish.
Also when setting up your gun, do a flood check. Look at the pattern it is putting out so you can see how even it is and how far you need to overlap to get a uniform application.
 www.g-wonlinetextbooks.com
Most cheap guns are actually putting out an oval football shape pattern and only 65-70% of the fan pattern is solid, edges are dry and fuzzy. If you spray for a living you buy SataJets they are the only guns whose fans are a razor blade rectangle with 80-90% usable even fan.
Biggest single factor in getting a coating to lay down right is that the size of the fluid tip matches the viscosity of the material, no substitute for the right equipment.
Auto Collision Repair and Refinishing 3e, Online Textbook page 683
Most cheap guns are actually putting out an oval football shape pattern and only 65-70% of the fan pattern is solid, edges are dry and fuzzy. If you spray for a living you buy SataJets they are the only guns whose fans are a razor blade rectangle with 80-90% usable even fan.
Biggest single factor in getting a coating to lay down right is that the size of the fluid tip matches the viscosity of the material, no substitute for the right equipment.
- 1
Coworker asked if I'd make her a table for her housewarming present. She wants a coffee table kinda like this, but with the resin inlay/contours I've been doing (and she's well aware I'm no Master of Wood).
Her Example:

The room:

Here's a quick mockup to see how the contour lines would look at 50ft intervals and 5mm thickness (Contour lines would be wood, not sure what yet, and space inbetween will be resin with pearl micah powder).

Her Example:
The room:
Here's a quick mockup to see how the contour lines would look at 50ft intervals and 5mm thickness (Contour lines would be wood, not sure what yet, and space inbetween will be resin with pearl micah powder).
- 1
Shut up, get on an airplane and come show me how to use my spray gun. I got beer.
The lighting tip is money though. I think that every fucking time I start spraying
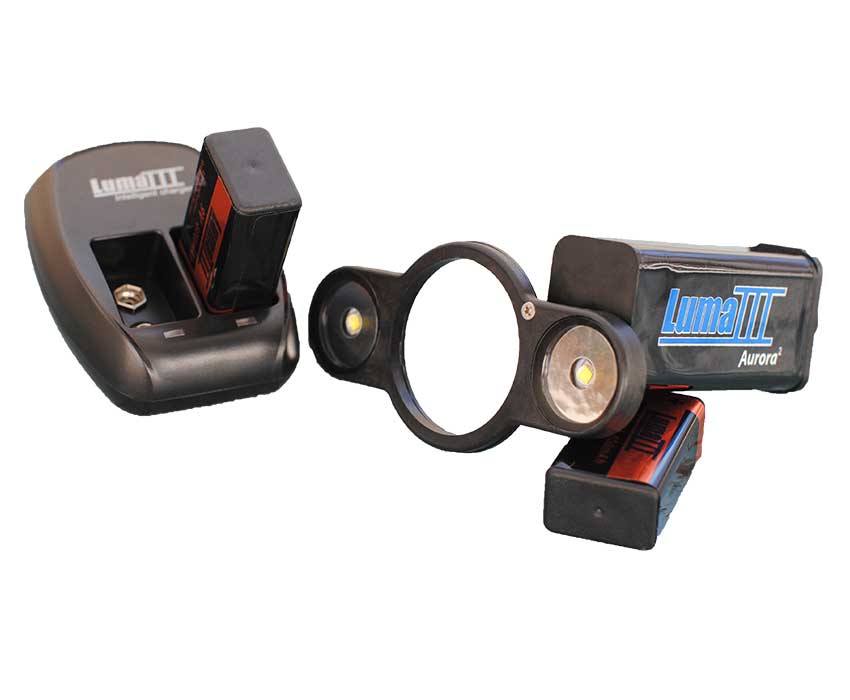
If you have money burning a hole in you pocket buy a Luma Light. They are model specific so go out and buy a Sata 5500 while you are at it.


Aurora 2 - Spray Paint Gun Light - Luma III
LED, Battery powered Spray Paint Gun Light attachment.
- 1

- 1
Fuck me I didn't even think about attaching it to the gun
Don't buy a Cup Buddy or whatever they call it, cheap junk
- 1
whoo
<Silver Donator>
I use a Fuji Q5 (it's a turbine system) and I get outstanding results. They are pricey, unfortunately, but work great for me. I use raking (side) light from various stand mounted full spectrum LEDs.
no idea fella. I got a HVLP gun from home depot a few months ago for around $120, and I have it hooked up to a shitty 5gal air compressor (20gal rusted out last year).Bandwagon are you using an HVLP turbine system? Or a high pressure conversion using a typical garage or portable compressor? Just curious.
I use a Fuji Q5 (it's a turbine system) and I get outstanding results. They are pricey, unfortunately, but work great for me. I use raking (side) light from various stand mounted full spectrum LEDs.
whoo
<Silver Donator>
Okay! That answers my questionno idea fella. I got a HVLP gun from home depot a few months ago for around $120, and I have it hooked up to a shitty 5gal air compressor (20gal rusted out last year).
If your tile isn't bumpy to start with,
- 1
Yea I think getting lighting right first is what I need to do, since I keep seeing this shit after I spray and when I'm inspecting with a light.
On top of a luma light I run one of those 100+ degree stadium style headband lights. Amazon has them $30-40.
Burns
Avatar of War Slayer
To Whoo's point with the poly: this is an old video set I had bookmarked about rubbing out a finish, after the layering, to get it perfectly smooth (use more coats, let cure, sand it out):These are ceramic tiles with ink and about 3x layers of polycrylic.
Anyone have advice on how to get rid of the dimples that doesn't involve sanding? I keep messing these up when the sanding gets to the ink layer and smears it all over the place, so trying to figure out how to fix the dimples without doing that. Flood coat approach?
View attachment 400461
The time I did a table to high gloss (think I used 5+ coats of polyurethane (oil
_
Depending on how the ink reacts to it, it might be easier to do a flood coat of epoxy. It's not cheap, but for a small project it wouldn't be too bad. It's also faster. The table I did with high gloss poly took hours of layering, sanding between coats, and the final finish (majority of time), not to mention the time waiting for the coats to dry.
- 2
Yea I think getting lighting right first is what I need to do, since I keep seeing this shit after I spray and when I'm inspecting with a light.
Biggest thing about lights for spraying is to protect them from overspray so they dont get torched and you have to trash them. I put clear mylar film over mine like a goggle tear off. but if you are using low temp LEDs you can just do a quick saranwrap over the glass.
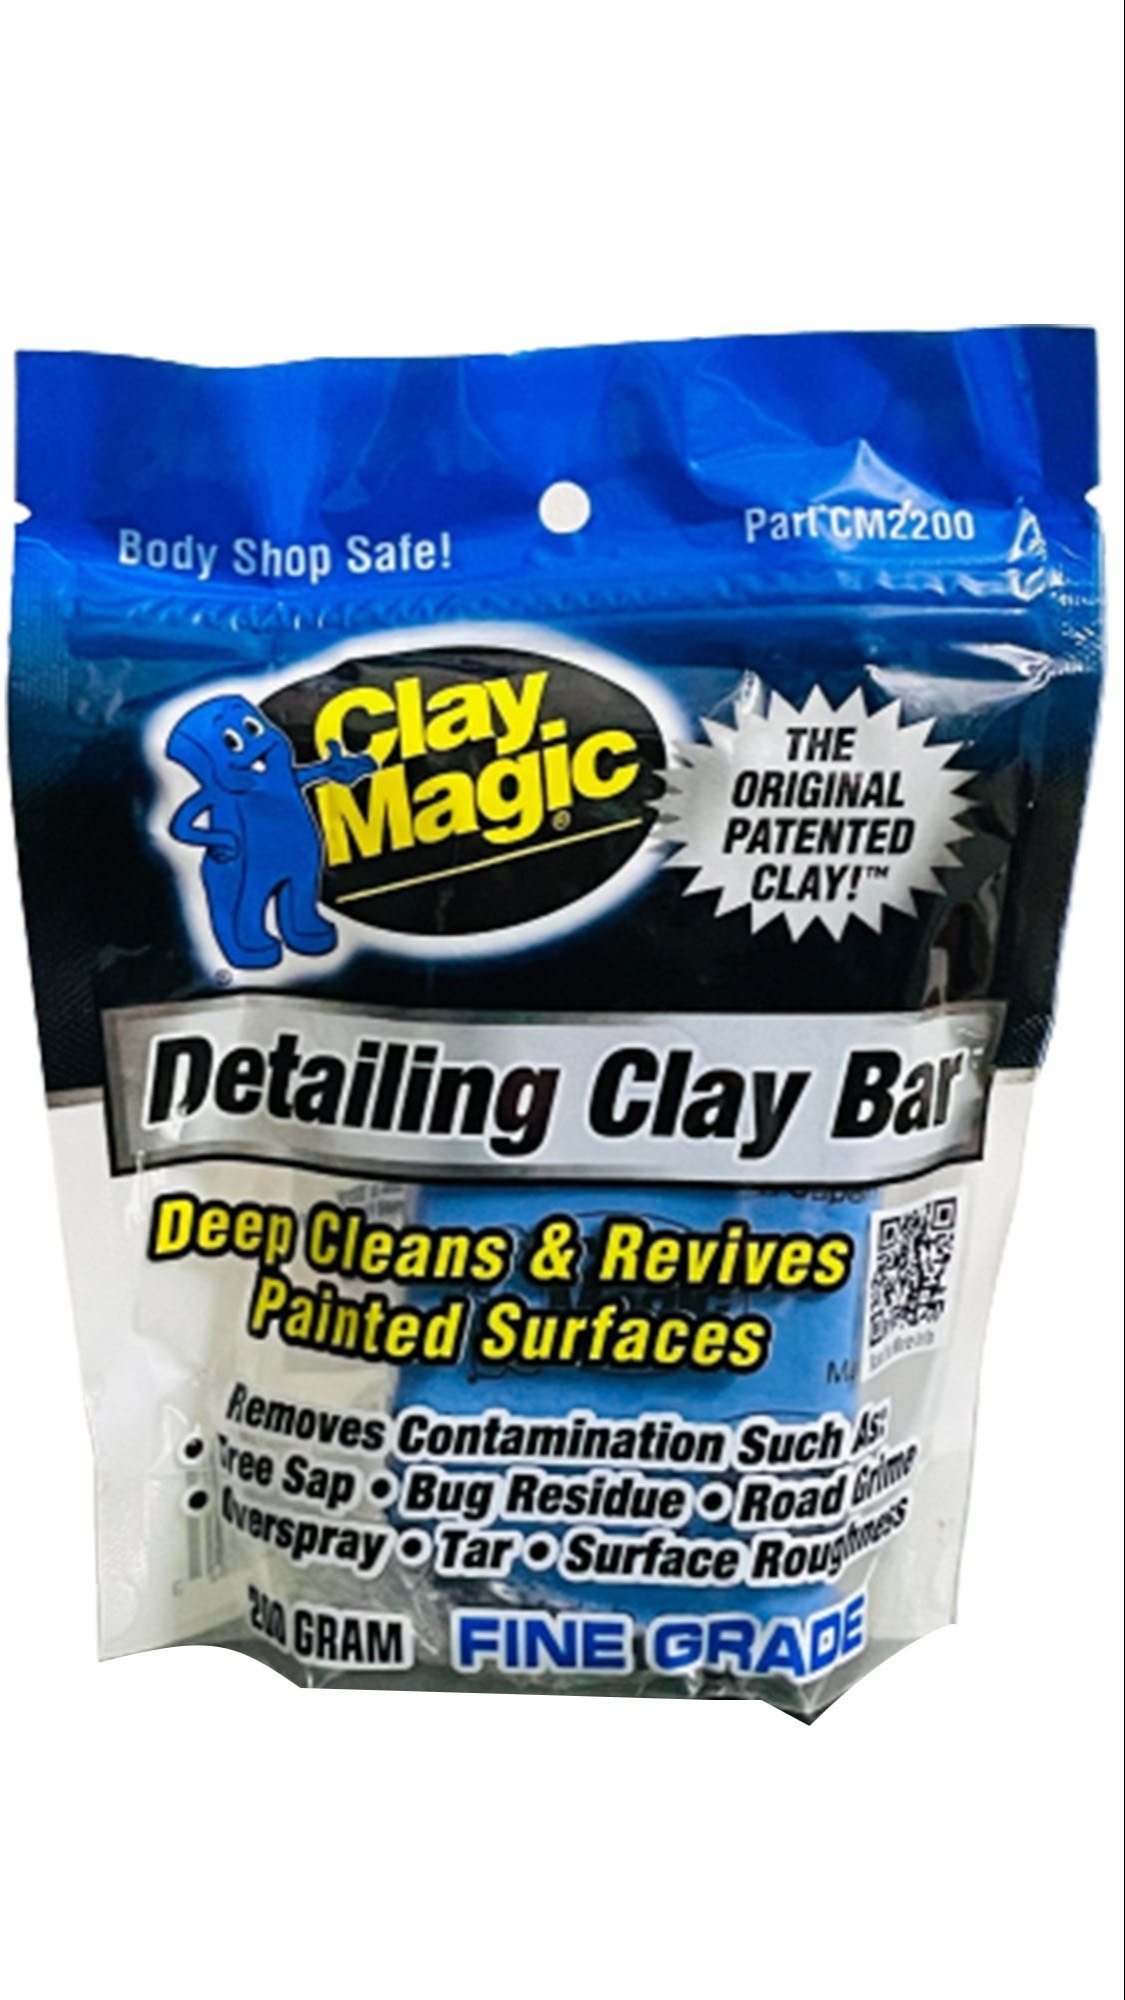
Anyone who sprays should keep a lump of Clay Magic around. Its autobody detailing clay. Wait for the paint to dry, spray a little soap and water on any items fuzzed out by over spray and rub the clay on it and it swallows up the fuzzy oopses.

Also denatured alcohol is handy, good for getting dried overspray off of glass. Also healthier to use to get urethanes etc off of your skin, solvents and thinners are not very bueno for cleaning yourself off with, liver / nerve damage etc.
- 1
- 15,754
- 69
Head lamps rule
Totally agree. Once you get past the part where you look stupid wearing them, you have hands-free light that is always pointed exactly where you're looking. I don't know why I don't use mine more.
- 1

Share:


